Curved backgrounds in Figma can add a dynamic, modern, and visually appealing touch to your designs, whether for websites, mobile apps, or presentations. Creating smooth, wavy, or organic curves in Figma is straightforward with its versatile vector tools and plugins. This article provides a comprehensive guide to creating curved backgrounds using multiple methods, complete with step-by-step instructions and practical tips on How to Make Curves In Figma Background.
Table of contents
Curves In Figma Background
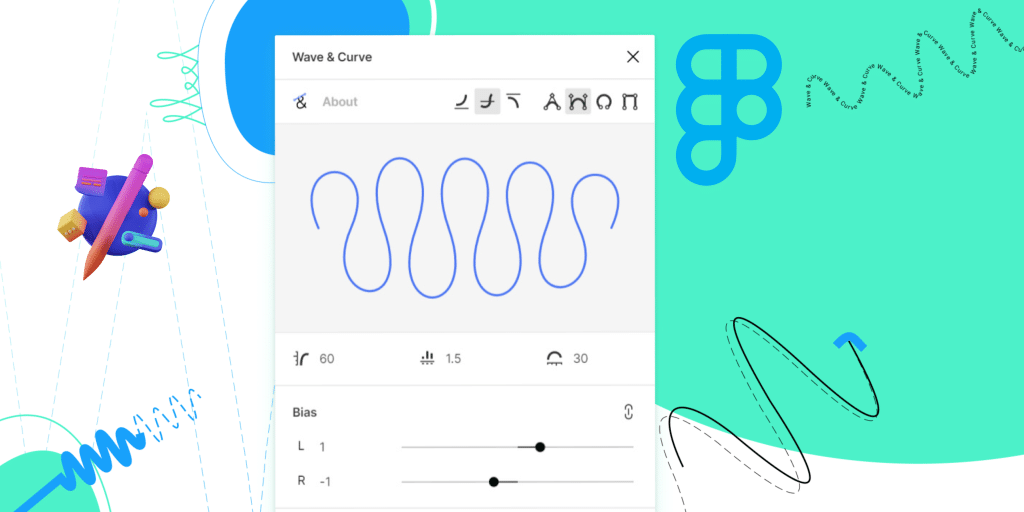
Curves in background design are a popular visual element in modern UI/UX design. They add a sense of flow, softness, and organic feel compared to straight lines and sharp edges. In Figma, a powerful vector-based design tool, creating and customizing curved backgrounds is both easy and versatile.
Why Use Curved Backgrounds?
Curved backgrounds enhance visual interest, break the monotony of straight lines, and create a sense of flow. They’re ideal for:
- Modern UI Design: Adding softness to sharp-edged layouts.
- Branding: Conveying creativity and approachability.
- Visual Hierarchy: Guiding the viewer’s eye through the design.
Below are five effective methods to create curves in Figma backgrounds, catering to different skill levels and design needs.
Methods of Giving Curve in Figma Background
Curved backgrounds in Figma add a modern, dynamic touch to designs for websites, apps, or graphics. They soften layouts, enhance visual flow, and create engaging aesthetics. Below are the key methods to create curved backgrounds in Figma, providing a concise overview suitable for general use.
Using the Pen Tool
The Pen Tool allows precise control over custom curved shapes. The Pen Tool in Figma is a powerful feature for creating precise, custom-curved backgrounds, allowing designers to craft unique shapes like waves, arcs, or organic forms.
Ideal for tailored designs, it offers full control over curves to enhance the visual appeal of interfaces, graphics, or presentations. Below is a concise overview of using the Pen Tool to create curved backgrounds in Figma.
Key Features:
- Bezier Handles: Dragging handles adjusts the curve’s angle and intensity, allowing for smooth or sharp transitions.
- Vector Editing: Double-click the shape to edit anchor points or curves at any time.
- Precision: Hold Shift while dragging handles to constrain angles (e.g., 45 degrees) for cleaner curves.
1. Select the Pen tool from the toolbar (or press P).
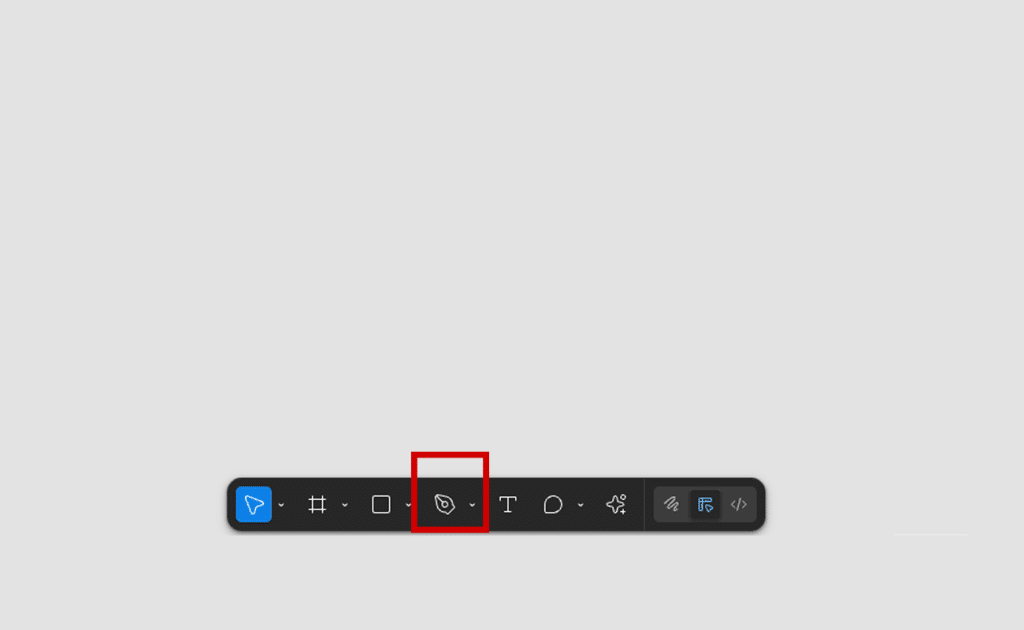
2. On your canvas, click to create a starting point.
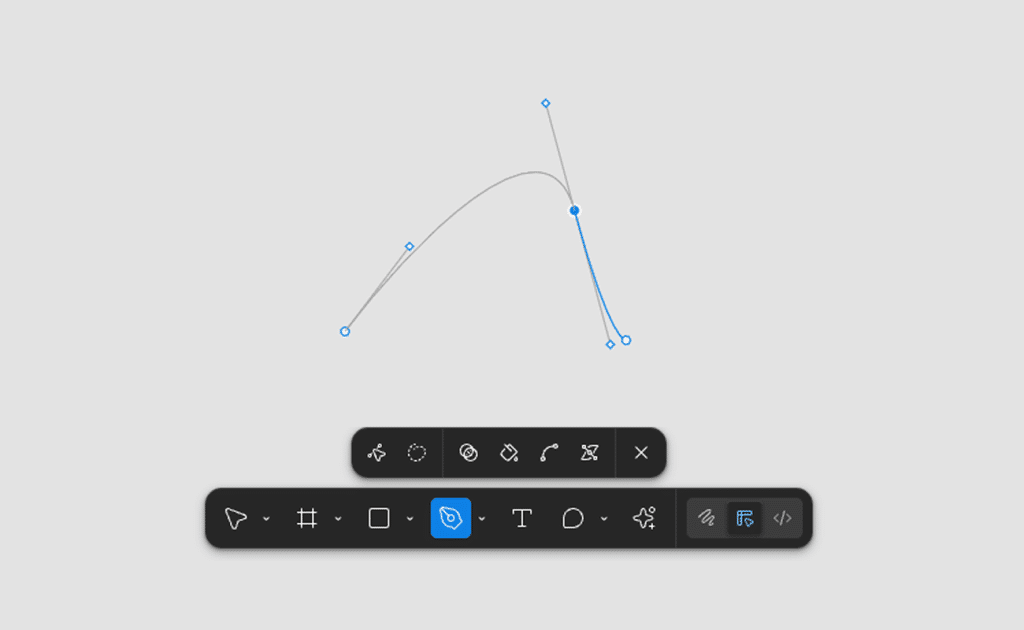
3. Click and drag to add anchor points with Bézier handles to create curves.
4. Continue clicking and dragging to add more points and handles, shaping your curve as you go.
5. To close the path, hover over the starting point until a small circle appears, then click. Otherwise, press Esc to leave the path open.
Pen tool is definitely a hurdle, but very satisfying once you get it.
Best Use Case
- Creating intricate wave patterns for website headers.
- Designing organic, flowing shapes for app backgrounds.
- Crafting custom dividers or section transitions in layouts.
Tips for Success
- Practice Control: Experiment with handle lengths to balance curve smoothness.
- Layering: Combine multiple curved shapes with different opacities for depth.
- Styling: Use gradients or Drop Shadow effects in the Effects panel to enhance the background.
- Responsiveness: Set Constraints in the Layout Grid to ensure the shape adapts to various screen sizes.
- Exporting: Export as SVG for scalable web use or PNG for high-quality raster output.
Using the Bend Tool
In most cases, we first draw using the Pen tool and then use the Bend tool to adjust the curves as needed. It’s very useful when you need precise control or want to curve individual segments.
The Bend Tool in Figma is a versatile feature for creating and refining curved backgrounds, allowing designers to manipulate paths and shapes to achieve smooth, organic, or wavy effects.
It’s particularly useful for adjusting curves on existing shapes or paths, making it an excellent tool for crafting custom backgrounds with precision. Below is a concise overview of using the Bend Tool to create curved backgrounds in Figma.
Key Features:
- Direct Path Manipulation: The Bend Tool lets you intuitively bend straight paths into curves without manually adjusting handles.
- Flexible Editing: Works on any vector path, whether created with the Pen Tool or basic shapes.
- Smooth Adjustments: Combine with the Corner Radius slider in the sidebar to soften anchor points for a polished look.
1. Draw a straight line with the Pen tool, or create a rectangle or any shape.
2. Click the Bend tool icon in the toolbar, or hold Ctrl (Cmd on Mac).
3. Click and drag on any segment of the path to bend it into a curve.
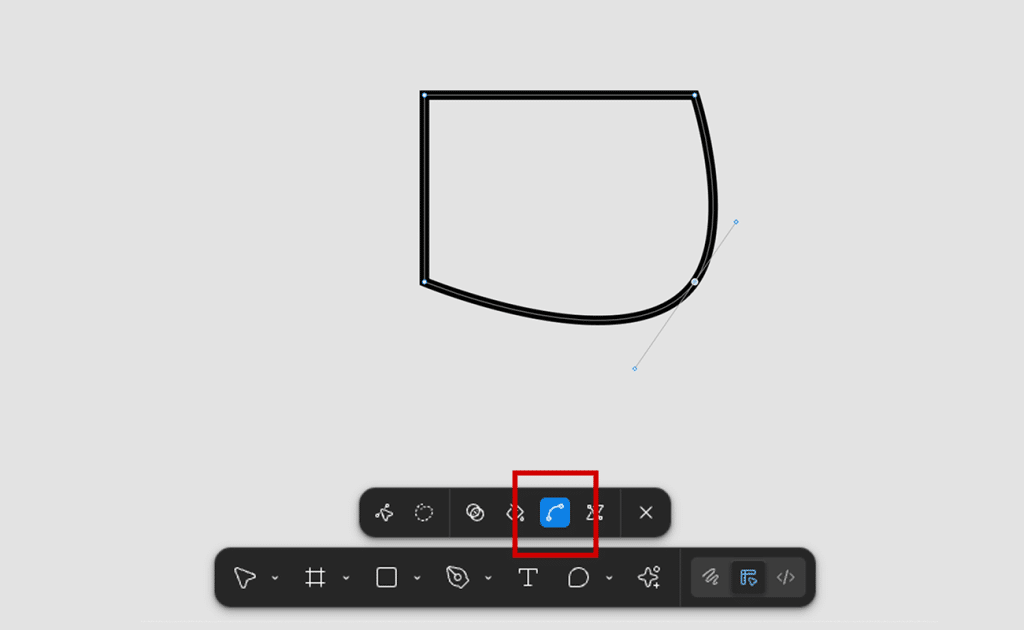
4. Refine the curve by adjusting the Bézier handles for fine-tuning shape and smoothness.
Figma also provides different modes for mirroring handles when two handles extend from the same point.
Best Use Case:
- Creating smooth wave patterns for website or app backgrounds.
- Refining sharp edges of shapes into flowing, organic forms.
- Designing subtle curves for section dividers or decorative elements.
Tips for Success:
- Start Simple: Begin with a basic shape or straight path to make bending easier.
- Combine Tools: Use the Pen Tool to add anchor points and the Bend Tool to shape curves for maximum control.
- Styling: Enhance curves with gradients or effects like Drop Shadow or Background Blur in the Effects panel.
- Responsiveness: Set Constraints in the Layout Grid to ensure the background adapts to different screen sizes.
- Exporting: Export as SVG for scalable web use or PNG for high-quality raster output.
The Bend Tool is ideal for designers who want to quickly transform straight paths into smooth, dynamic curves, offering an intuitive way to create visually appealing backgrounds in Figma.
Bézier Handle Mirroring Modes
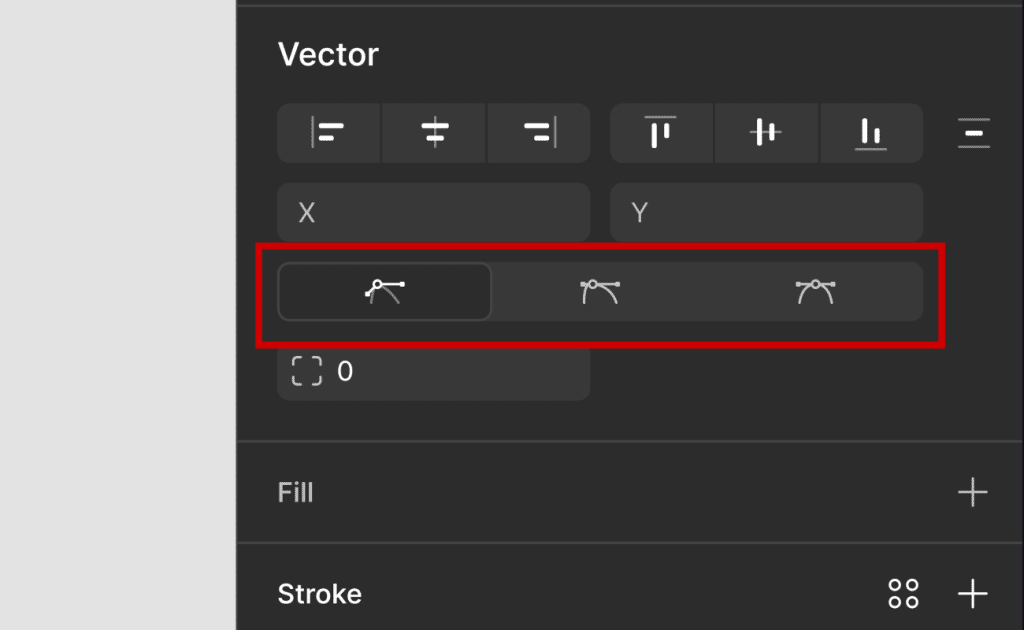
- No mirroring: When you move one Bézier handle, the other handle on the same point remains unaffected. Useful for creating sharp corners or independent curves. Hold
Alt(Option) to manipulate one handle independently. - Mirror angle: The unselected handle mirrors the angle of the selected handle. This creates a continuous curve where the angle is mirrored, but the length can be adjusted independently.
- Mirror angle and length: The unselected handle mirrors both the angle and the length of the selected handle. Ideal for creating symmetrical shapes such as circles or for ensuring perfect symmetry in any part of a vector.
Using Boolean Operations
This is an efficient way to create complex background shapes by combining or subtracting other shapes. You can find these options in the top toolbar.
1. Create two or more basic shapes, such as ellipses or rectangles, and make them overlap.
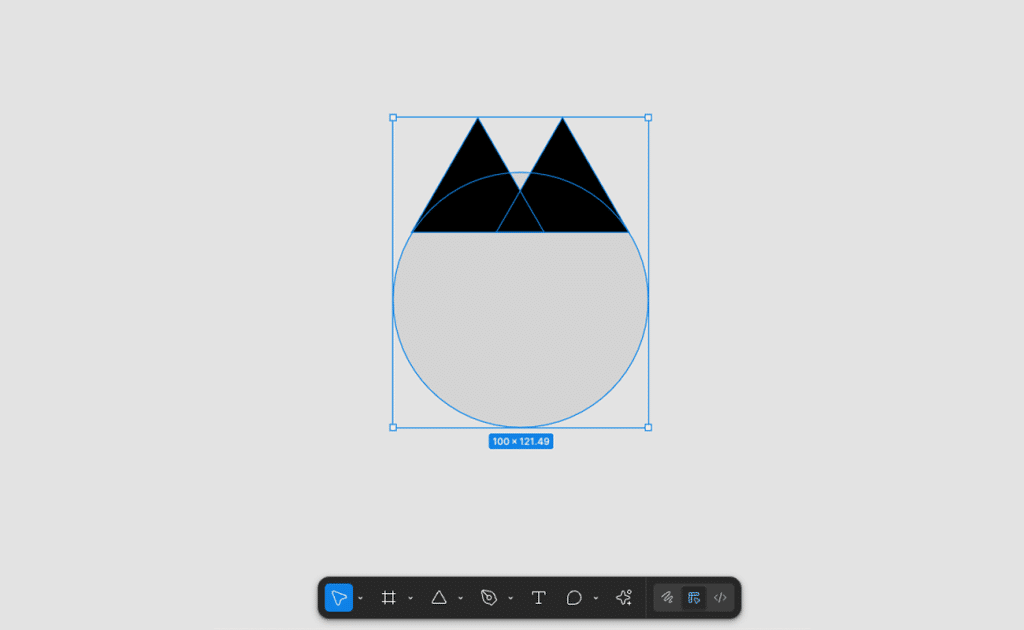
2. Select them and apply a Boolean operation like Union, Subtract, Intersect, or Exclude using the toolbar.
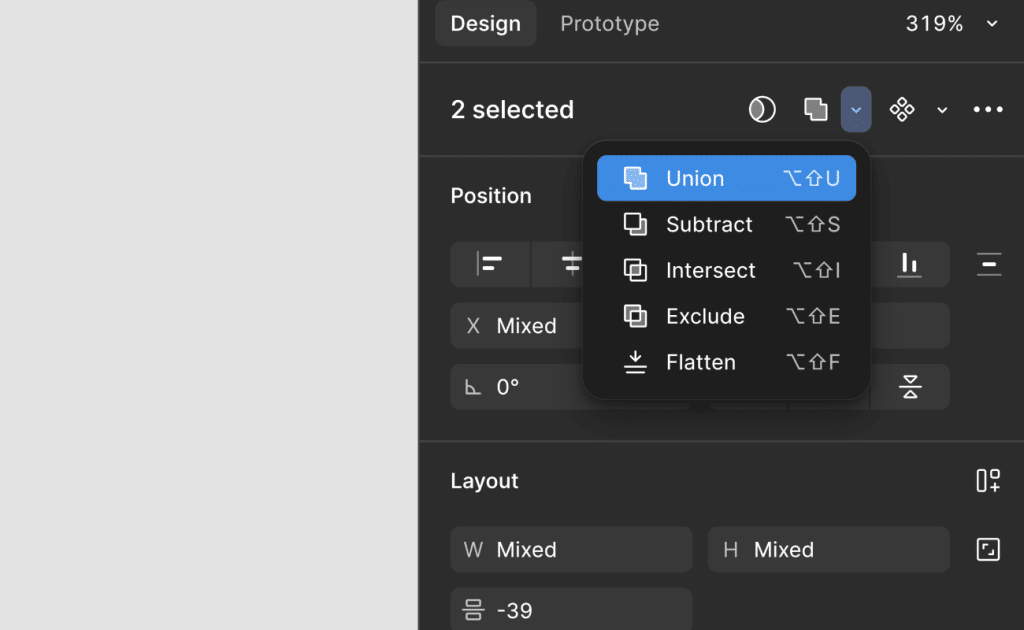
3. With the new vector layer, double-click to go into edit mode, allowing adjustment of individual vector points.
4. Customise fill, stroke, and other style properties as needed.
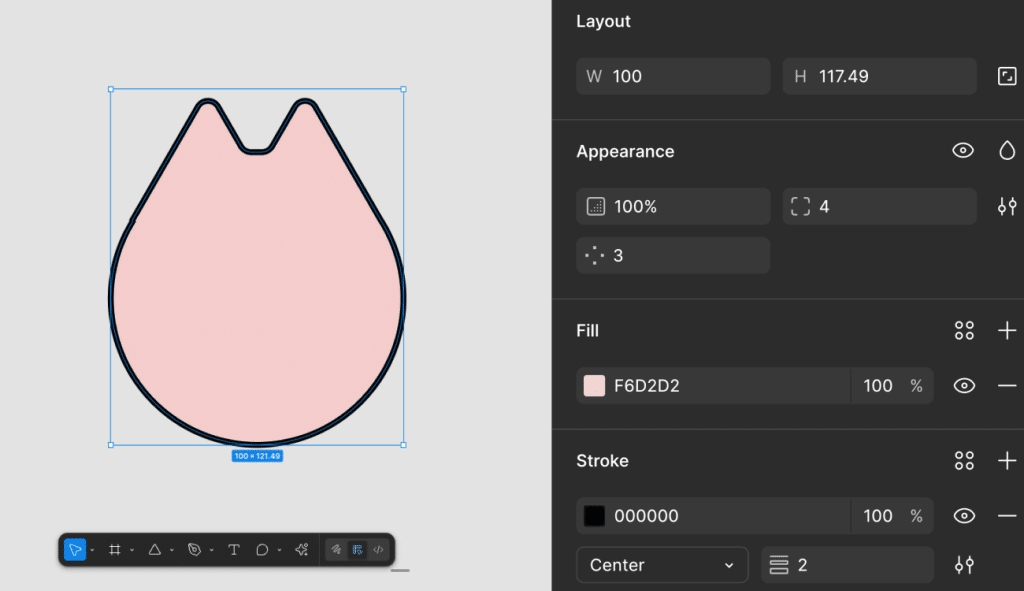
Boolean operations let you build complex forms with smooth curves using simple shape combinations.
Practical Example:
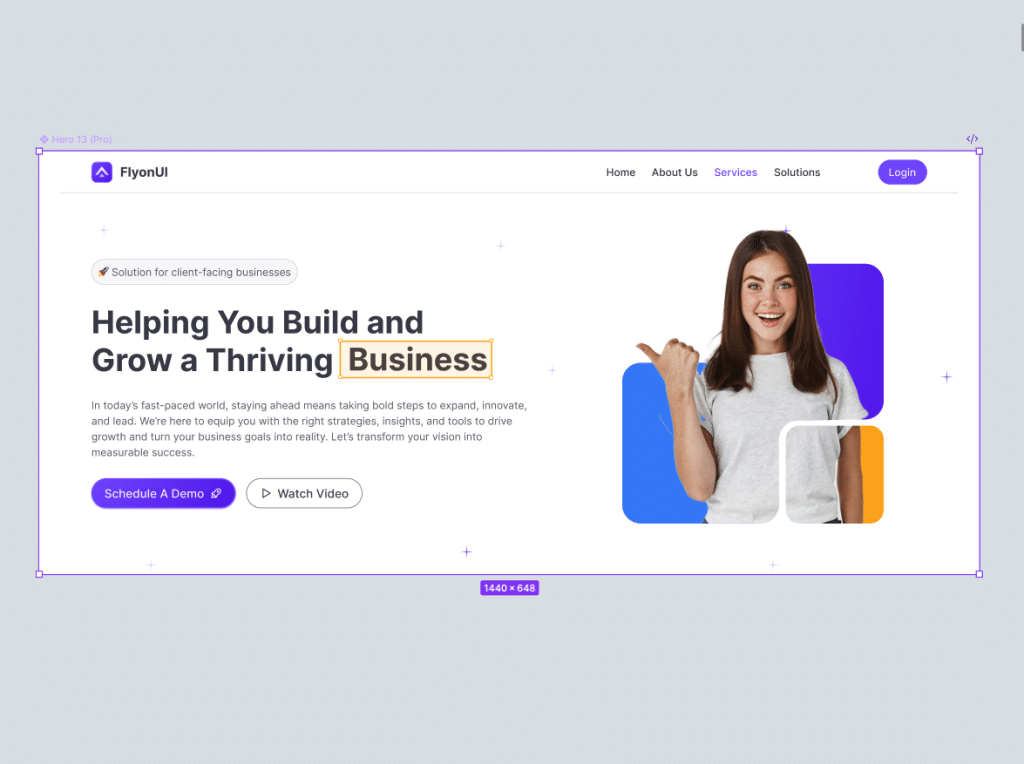
Here’s a curved section background we created in Figma Boolean operation. You can explore more effects like this in FlyonUI.
Tips to Make Your Curves Better
- Start with shapes:
- If the Pen tool feels intimidating, start from basic shapes (circles, rectangles) and modify them with the Bend tool or Boolean operations. It’s much less overwhelming.
- Keep it simple:
- The fewer anchor points you add, the smoother your curve will look. Beginners often over-click, but professional-looking curves usually rely on just 2–3 well-placed points.
- Leverage mirroring:
- Don’t forget Figma’s handle mirroring modes. They save time when you’re working on symmetrical curves like waves, circles, or rounded patterns.
- Use outline mode:
- Switch to Outline mode (
Cmd + Y/Ctrl + Y) when things get messy. It strips away all fills and strokes so you can see just the paths and handles clearly.
- Switch to Outline mode (
- Practice with games:
- Try the free Bezier Game online, it’s a fun way to train your eye and hand on curve building.
Special Mention: FlyonUI

FlyonUI is the free Tailwind Components Library designed to combine the best of both worlds: the aesthetic appeal of semantic classes and the powerful functionality of JS plugins.
Under the hood, it uses the strengths of:
- Tailwind CSS: A utility-first CSS framework that helps you build beautiful websites with ease.
- DaisyUI: adds component semantic class names to Tailwind CSS so you can make beautiful websites faster, easier, and more Maintainable.
- Preline: JavaScript headless & fully unstyled Tailwind plugins for accessible, responsive UI. Enhance experiences with animations, transitions, and more.
Features:
- JS plugins Support
- Semantic Components
- 800+ Free Components Examples
- Universal Framework Compatibility
- Unlimited Themes
- Unstyled & Accessible Plugins
- Responsive & RTL support
- Free Forever
- Beautiful and Semantic Styling
- Efficiency and Productivity
- Maintainable and Scalable
It also comes with:
Conclusion:
Curved backgrounds in Figma are a versatile way to enhance your designs, offering endless creative possibilities. Whether you use the Pen Tool for precision, plugins for speed, or smoothed shapes for simplicity, Figma’s tools empower you to create professional, eye-catching backgrounds.
Experiment with layering, effects, and gradients to craft unique designs, and always test for responsiveness in real-world applications.
For further inspiration, explore Figma’s Community files or combine methods to achieve truly custom results. Start designing your curved masterpiece today!
At the end of the day, curves in Figma aren’t some mysterious magic – they’re just a mix of simple tools and a bit of practice. With the Pen tool, Bend tool, and Boolean tricks you can shape many different things.
So open Figma grab the Pen tool and don’t be afraid to play around. Worst case? You hit Undo. Best case? You end up with a background that looks way more polished than a flat rectangle.
BTW, Do check the Figma UI kits for faster designing.